Introduction:
Redmine is open source and is a flexible project management web application. It is also supports to cross-platform and cross-database.
It features per project wiki pages and forums, time tracking, and flexible, role-based access control. It includes a calendar and Gantt charts to aid visual representation of projects and their deadlines. Redmine integrates with various version control systems and includes a repository browser and diff viewer.
The design of Redmine is significantly influenced by trac, a software package with some similar features.
Redmine is written using the Ruby on Rails framework. It is cross-platform and cross-database and supports 34 languages.
Supporting Features:
1.Supports to multiple projects.
2.Role Based access control on project and on it’s content.
3.Flexible issue tracking system.
4.Supports for calender and Gantt chart.
5.Supports to email notification.
6..Supports to create wiki pages per project and project forum per project.
7.Time Tracking.
8.Supports to SVN, Git ,CVS , etc…
9.Multiple LDAP(Lightweight Directory Access Protocol)authentication support.
10.Multi language support.(English,French ,Japanese,Russian,German,etc..)
11.Multiple DB support.(MySQL, PostgreSQL , SQL server ,etc…)
12.Supports API.
We are going to with simple steps installation(Bitnami Redmine Stack Installation).
Installation steps:
- System requirements for Redmine Installation:->
- Intel x86 or compatible processor
- Minimum 512 MB RAM
- 1000 MB Hard Drive Space
- Operating System- Ubuntu-14.04 or Ubuntu-16.04
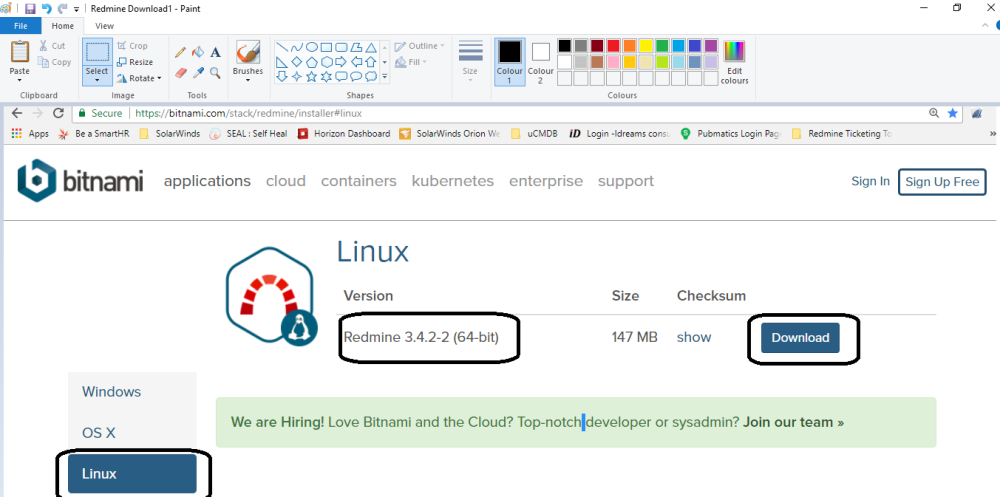
Step-1. Download Bitnami Redmine from following Link—->
https://bitnami.com/redirect/to/156271/bitnami-redmine-3.4.2-2-linux-x64-installer.run
or you can download that setup using wget command on ubuntu as follows—->
ubuntu@localhost~]sudo wget https://bitnami.com/redirect/to/156271/bitnami-redmine-3.4.2-2-linux-x64-installer.run
Step 2:
It’s a binami-redmine*.run file but it doesn’t matter for Linux, as Linux do not care about extensions.
Check whether the file has executable permissions:
ubuntu@localhost~]$ getfacl bitnami-redmine-3.1.1-1-linux-x64-installer.run
If it has a executable permissions it’s file, if not u can do:
$ chmod 700 bitnami-redmine-3.1.1-1-linux-x64-installer.run

Step 3:
Now run this file as:
$ ./ bitnami-redmine-3.1.1-1-linux-x64-installer.run
Step 4:
Now it will prompt some basic question, first one is installation language.
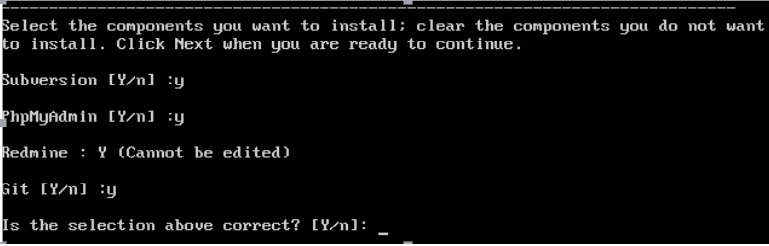
Then it will ask for some package installation.
Then, your directory to put the all redmine files and admin profile information, like name, username and password.
Step 5:Mail configuration:
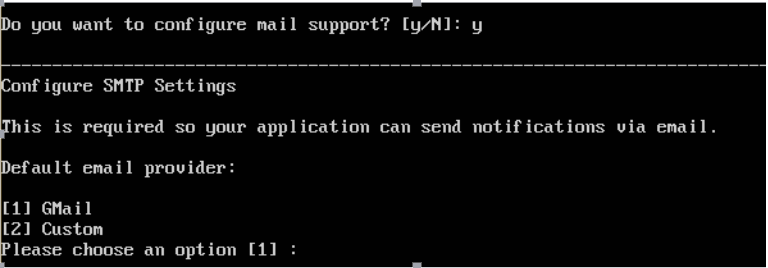
You need to specify your gmail account for mail (Recommended).
- Select gmail for gmail account or custom for any other.
Give user name and password.
- You can also setup this after whole installation.

Fill default section:

And its done.
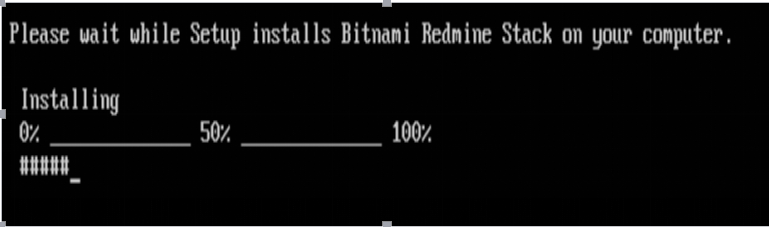
Step 6:It will show a installation progress:
At last it will give u a link to access redmine webpage (generally it is):
Here, You have to specify your ubuntu machine’s IP address instead of putting localhost in URL.
it may change port number as if any other web service is running in your machine.
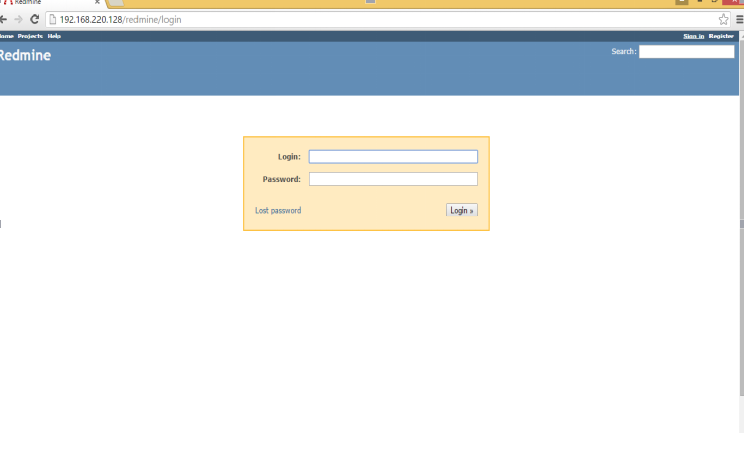
Step 7:Access login screen in your browser and enter you’r admin credentials
To Restart you’r all redmine services:
If your machine ever go down. There is a shell script to restart all services.
Installation of Bitnami Redmine is done in “/opt/redmine” directory.
So for restating the all services please go to following—>
ubuntu@localhost~]cd /opt/redmine
ubuntu@redmine]sudo ./ctlscript.sh restart
or
ubuntu@localhost~]$ sh /opt/redmine/ctlscript.sh
ctlscript.sh is a bash script which is useful for restarting all services related to Bitnami Redmine.
Where , * is a yourRedmineDirectory form root(‘/’)
As everything in this redmine directory, you can configure whole setup according to u, like apache and others.
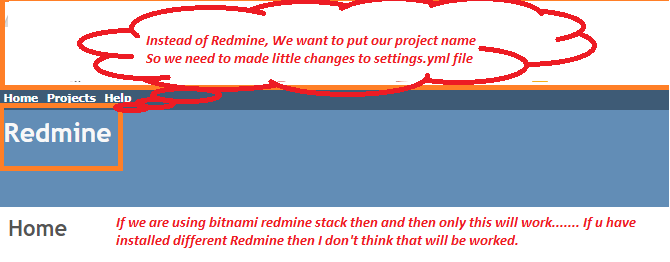
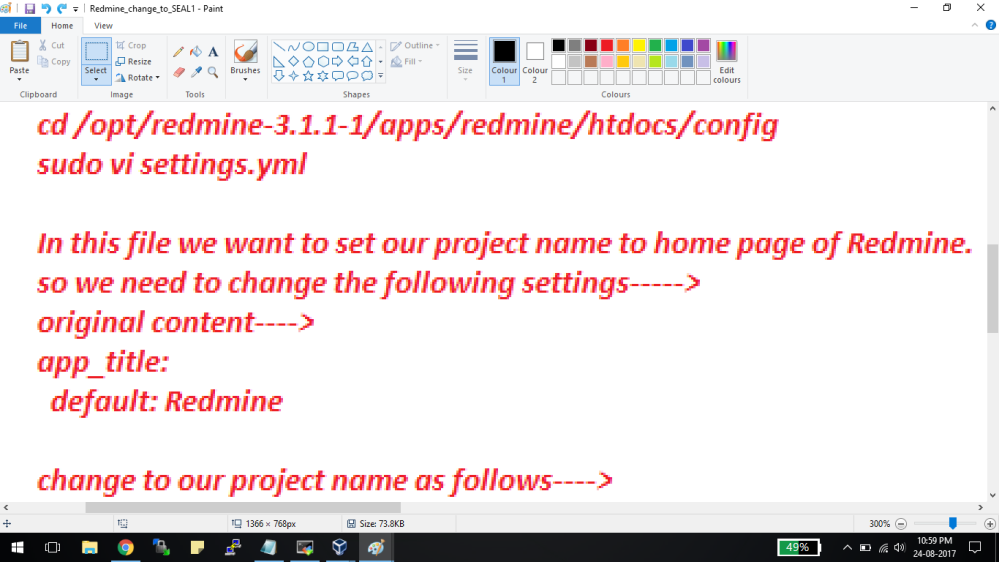
Advanced Settings:
If you want to set your project name on redmine dashboard then follow the image.
Here I have changed mine project name(SEAL Development) instead of Redmine on Redmine Dash board Home Page.

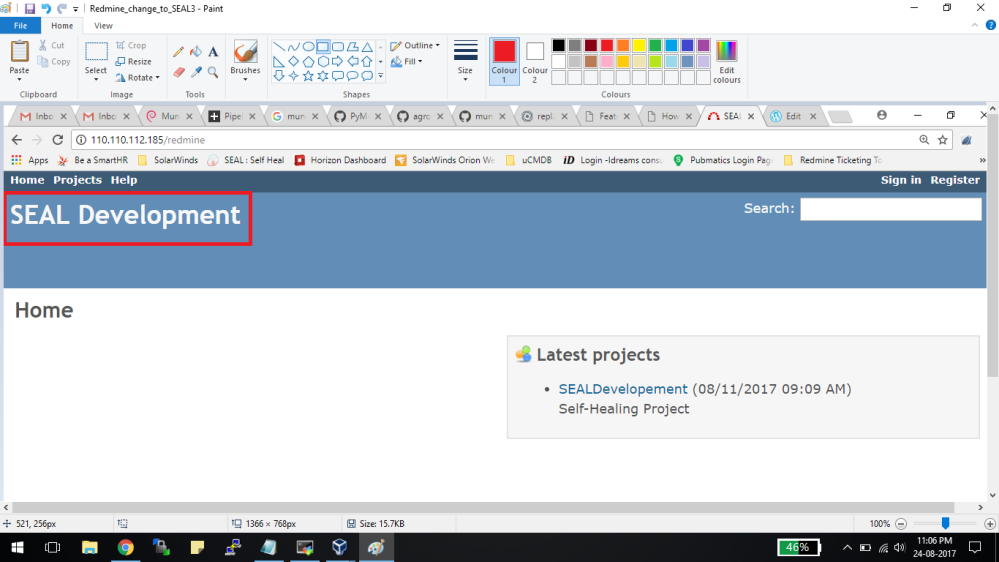
After making all changes, Your Project Name(SEAL Development) set on Redmine home page and it will looking like as follows—->
You Are Done With Redmine Installation.!!!!!!!!!!!!!!!!

good
LikeLike