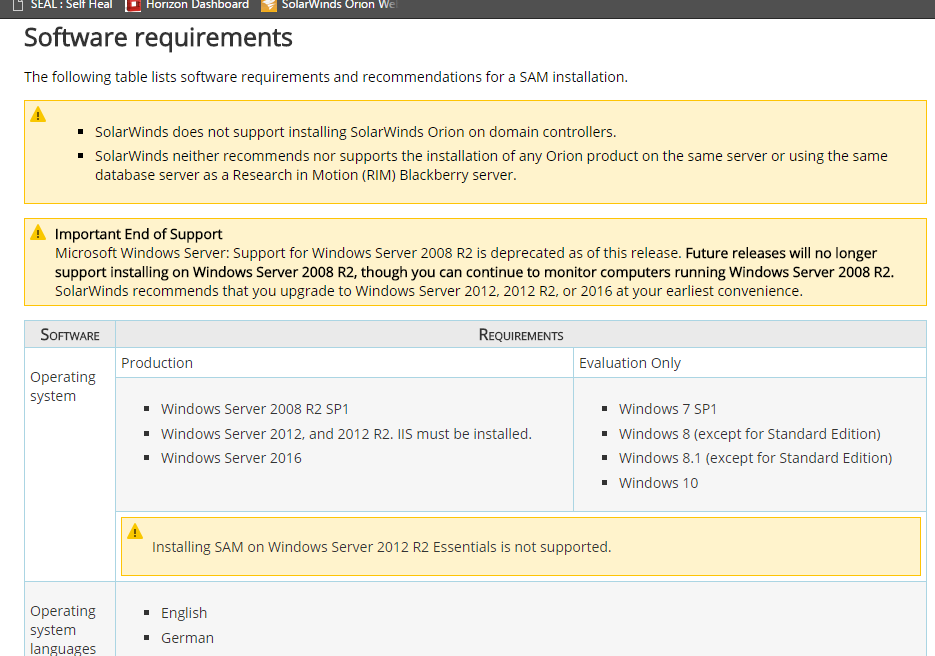
Introduction:
Solarwind is a monitoring Tools. Where we can monitor the Server,Services,Application,Network performance(of particular Server).
There are different setup for different functionality like for monitoring server and their application, Solarwinds provides SAM(Server & Application Monitoring) Tool, For measuring n/w performance Solarwinds provides NPM(n/w performance Monitoring) Tool, For monitoring n/w configurations Solarwind provides NCM(N/w configuration Monitoring) Tool. Also Solarwind provices lot more different tools for monitoring. Few of them we have introduced above.
Restrictions For Using Solarwinds SAM:->
1.Active Directory should not be in that server where you are going to install Solarwind SAM.
2.Servers should be registered to Active Directory which is going to add for monitor (using Solarwind SAM).
3.Active Directory and SAM setup should not be installed on same windows server 2012 R2 Base machine.
Currently, We are focusing on Server And application Monitoring(SAM) Tool.
SAM Setup Installation Process On Windows Server 2012 R2:
SAM Setup Download Link1:-
or
SAM Setup Download Link2:-
Step -1
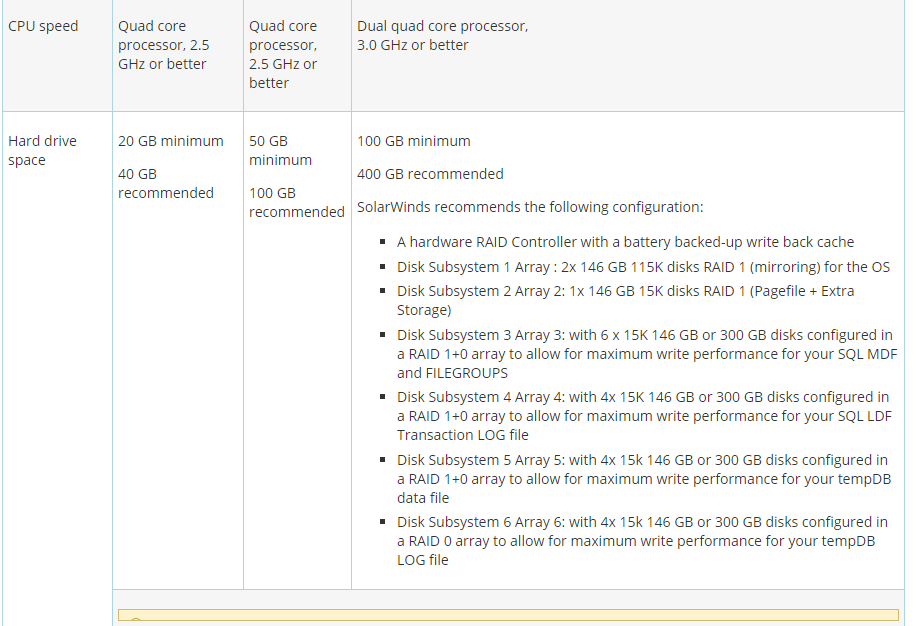
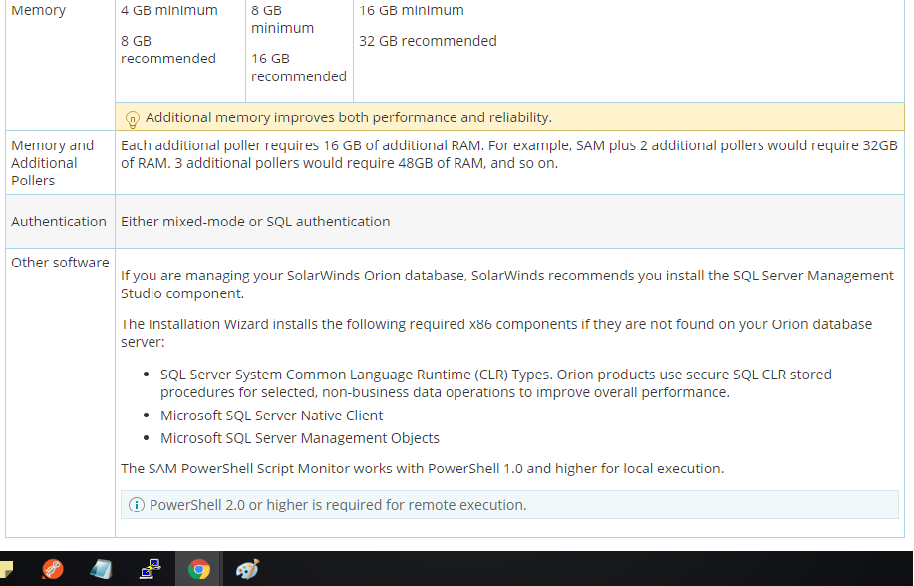
After Downloading the setup (setup should be of size nearer to 1.5 GB or nearer to 1.7 GB or may be more than that)Don’t Download setup whose size is 2kb or 5 kb. Go to windows server 2012 R2, and Double click on setup file.After Clicking on that setup window will pops up which says that there is requirement of .net 3.5 or .net 4.0. So Now we need to install these.
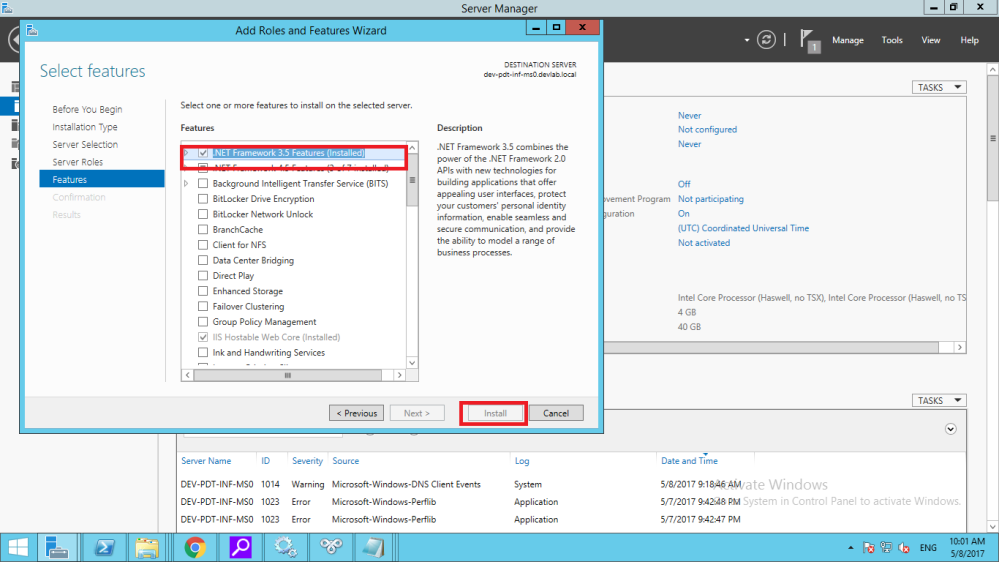
1)click on ->Add Role->Role Based Installation->Next->Next->Select “.net Framework 3.5 features->click ->install.

if it is successfull then it is ok. And if it is giving error to install .net 3.5 features then u need to follow different way as follows—->
first,copy setup of windows server 2012 R2 on windows server 2012 R2(where u r trying to install solarwinds.) put this iso image in to “C:” drive and right click on that and select “Mount” option.
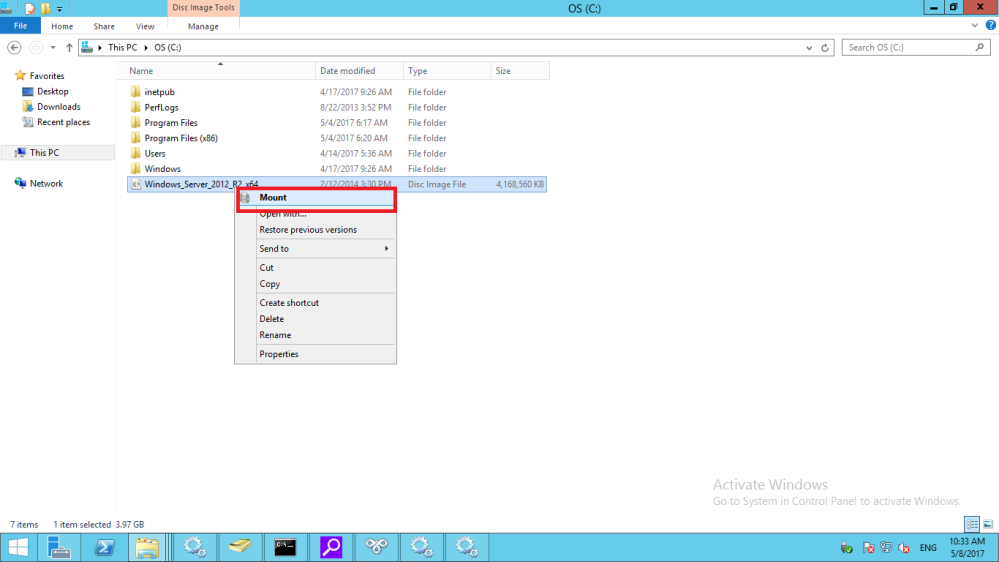
After it get mounted then go back to my computer, there u see a new Drive as shown in next figure…..
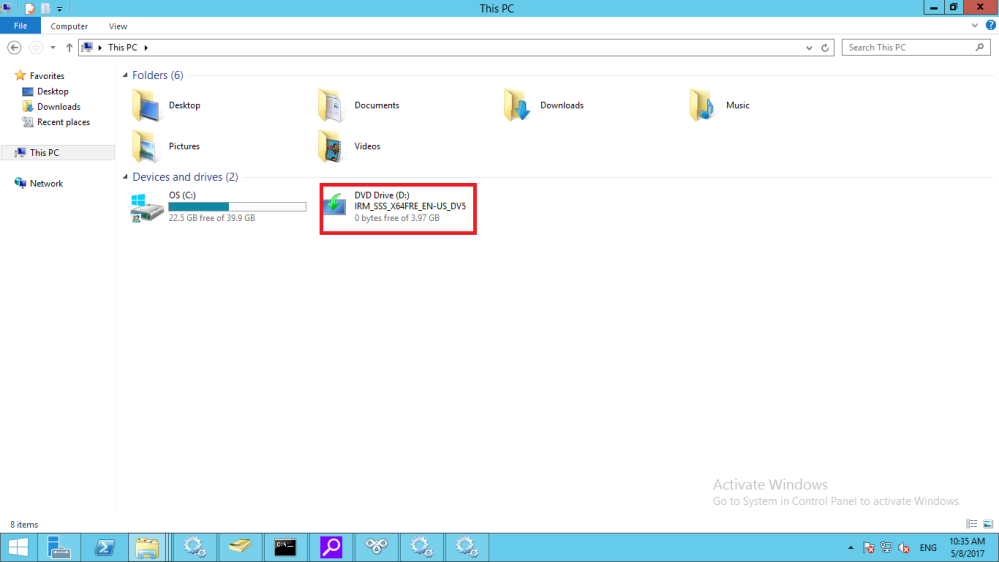
Now Again u need to follow the same

In the next figure u need to specify the path as “D:\Sources\SxS\” … Sometimes u need to change or specify drive letter as “D:” or “specify Whatever Drive letter it shows in my computer comes after mounting the iso” into path section.
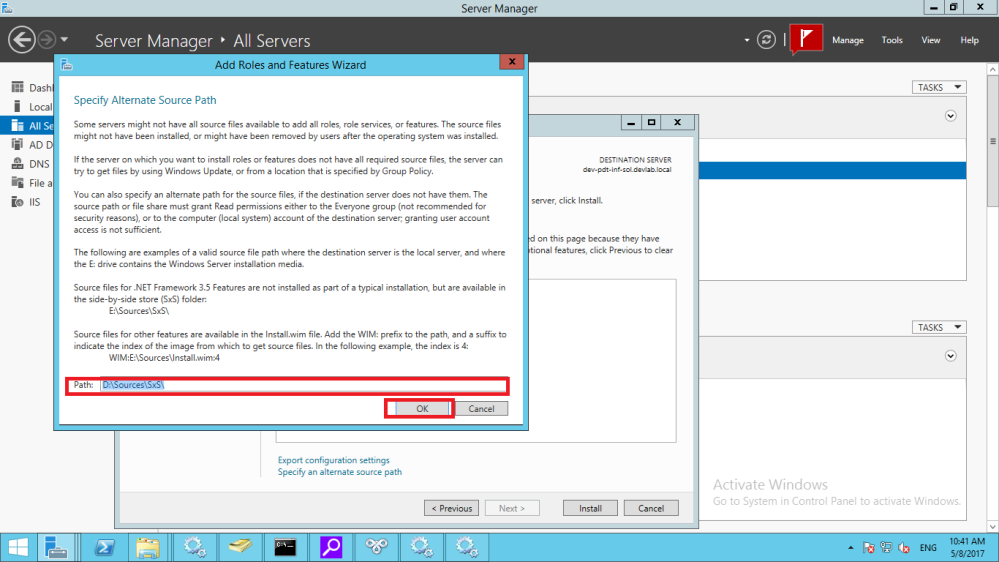
now, click –>ok and click–>Install.
After clicking on Install it will definitely get installed.
Now we can try with installation of SAM by double clicking on that SAM setup. it will populate installation then click->next–>next–>next->ok
Installation will starts.
After installation finishes, Goto start–>search–>solarwinds orion web console–>Press Enter. It will opens into browser.
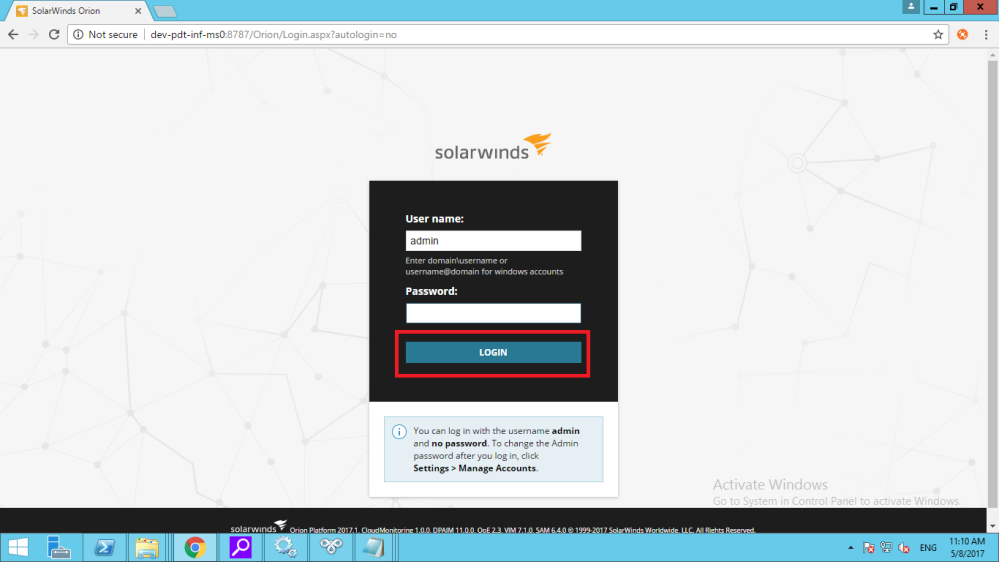
For first time, Don’t put any password (password field should Be blank at first time) –>clock on Login
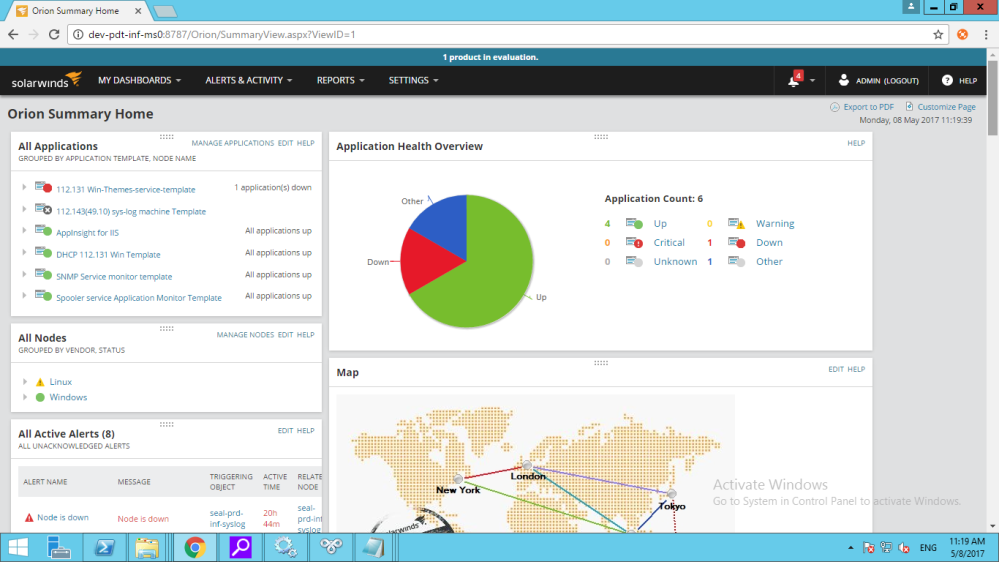
after login you can see following page–>
Now We will add a Node(server) whose service is going to be monitored.
Step -1 Adding Node(Server) To Solarwind Dashboard Steps:
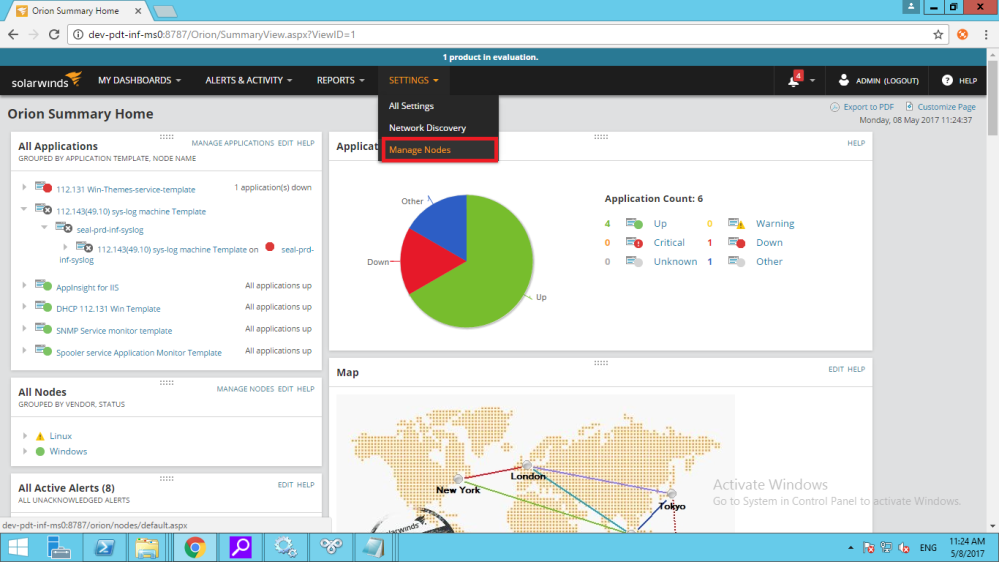
click on- Manage Node ->
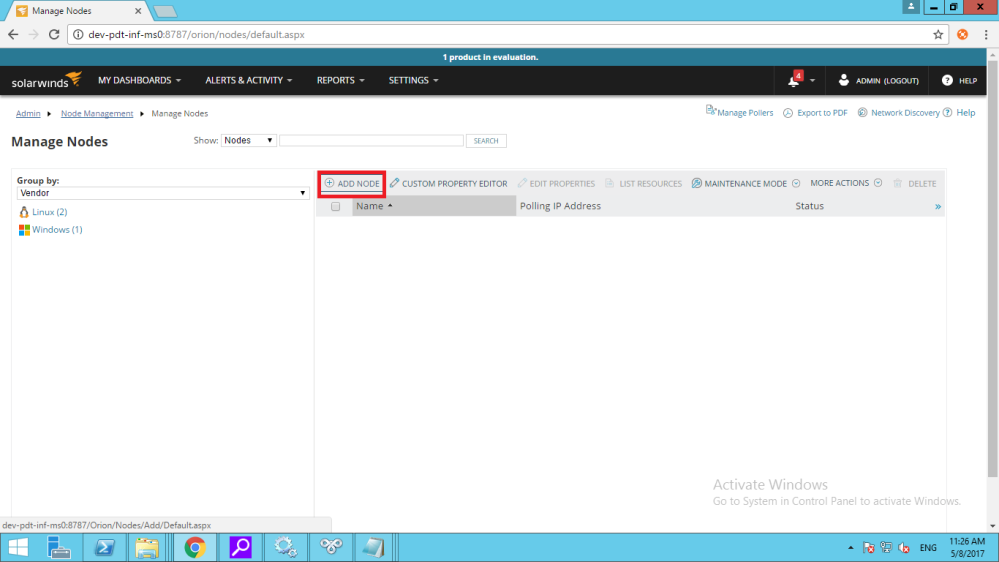
click on add Node–>
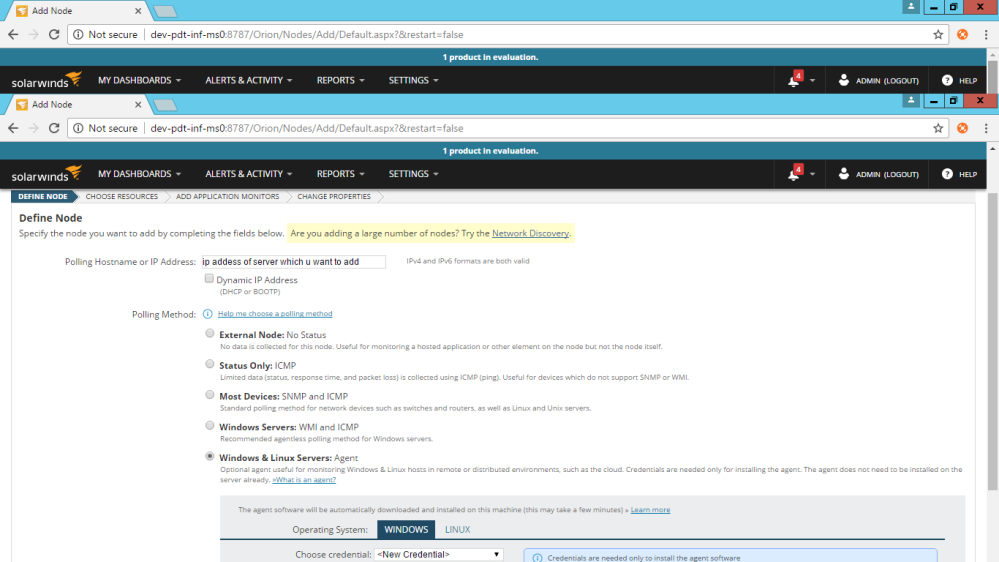
after putting credentials of server(which u want to add) then click on “Test”.
If it is successful then and then only you can move further for installation of Solarwinds agent on that server machine.
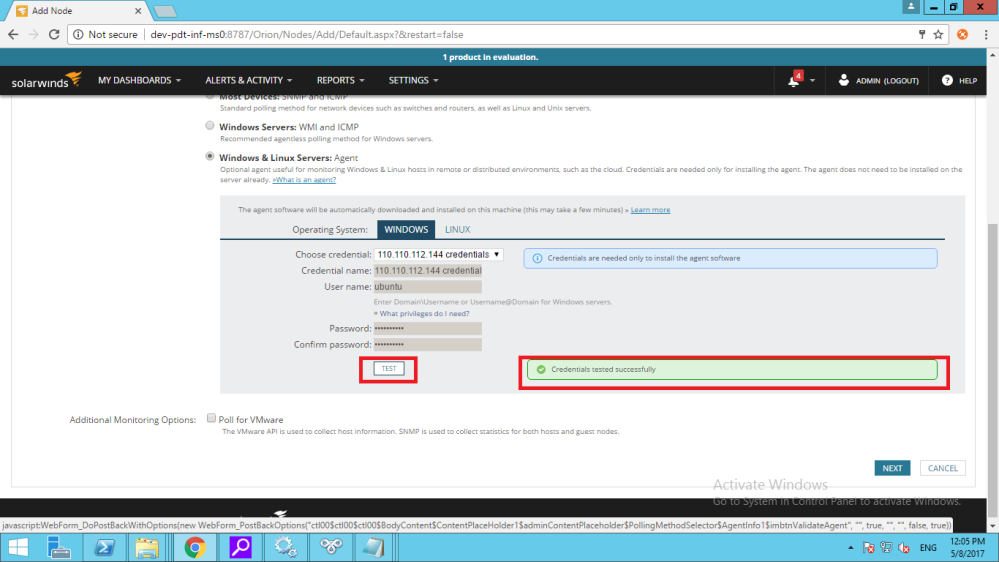
click->Next
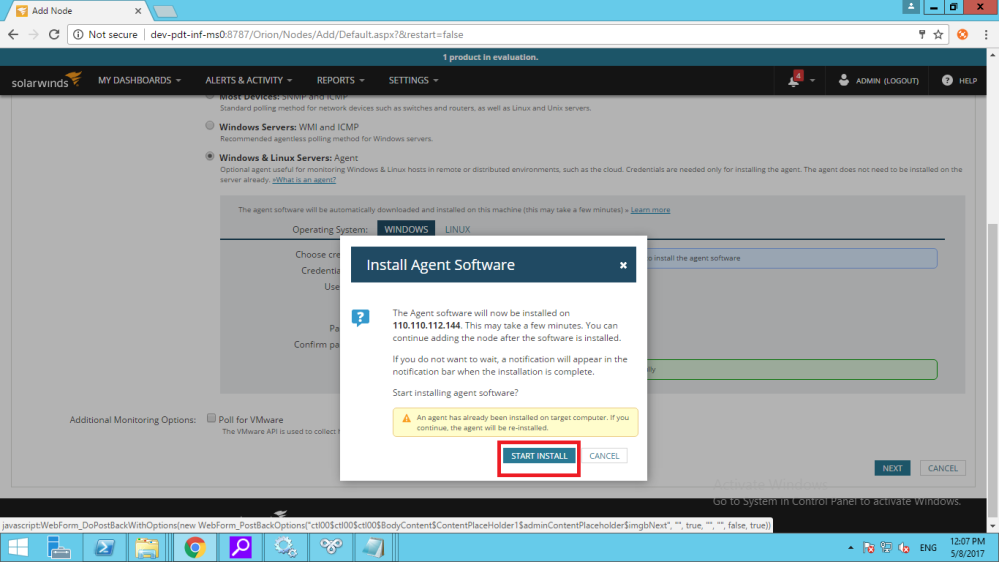
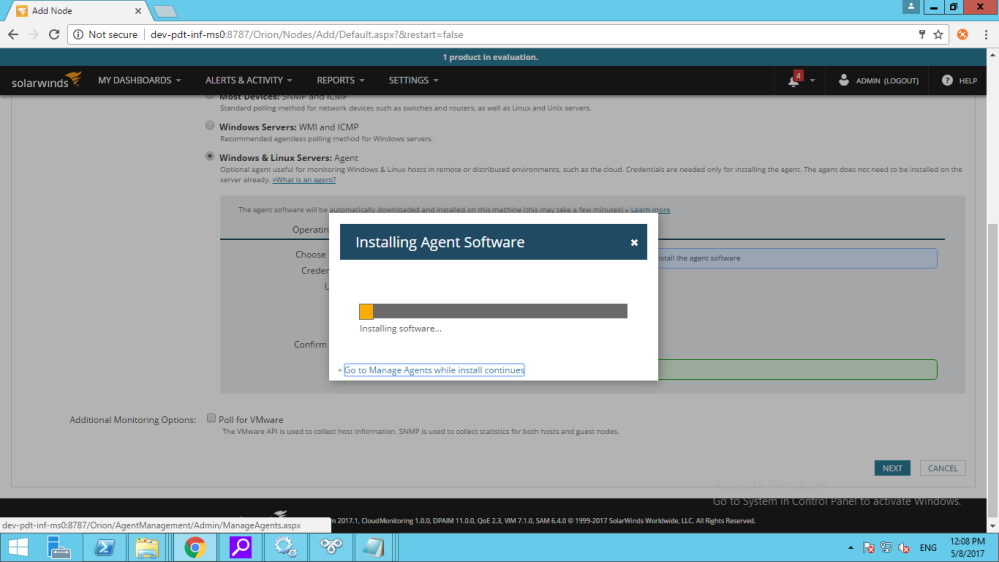
When you click on Next button then Installation of solarwind agent (on server) is in progress.
Use of Solarwind Agent:
For making communication between Solarwind Orion dashboard and newly added server(Node).
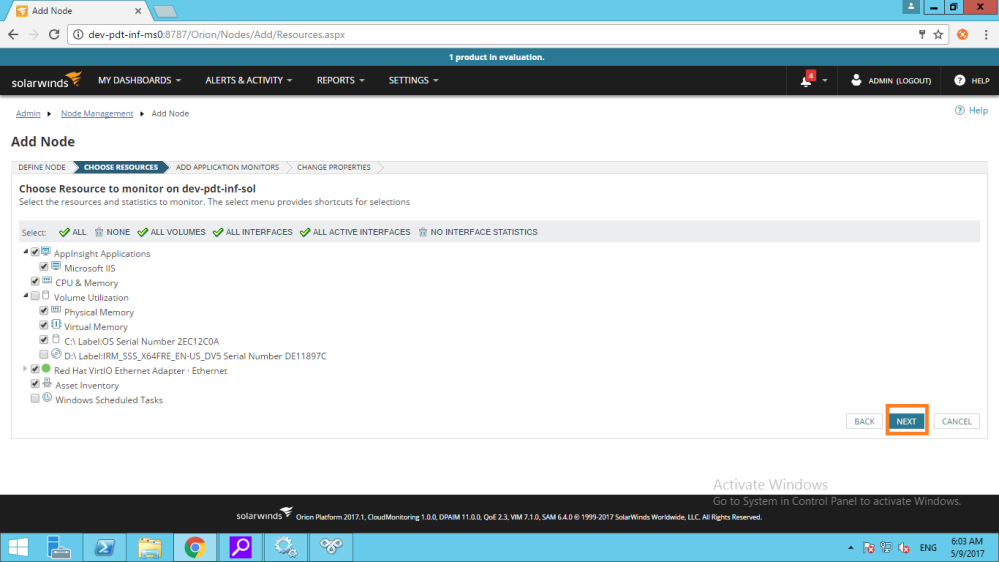
The next step is “Choose Resources”.Here No need to click on anything.Just click on Next button which is present at bottom right corner.
Next step is “ADD APPLICATION MONITORS”. You need to select template which is below of “Show Only”.Also You need to just click on check-box which is present just below “Show only”.

figure 8.1 Add Application Monitor part-1
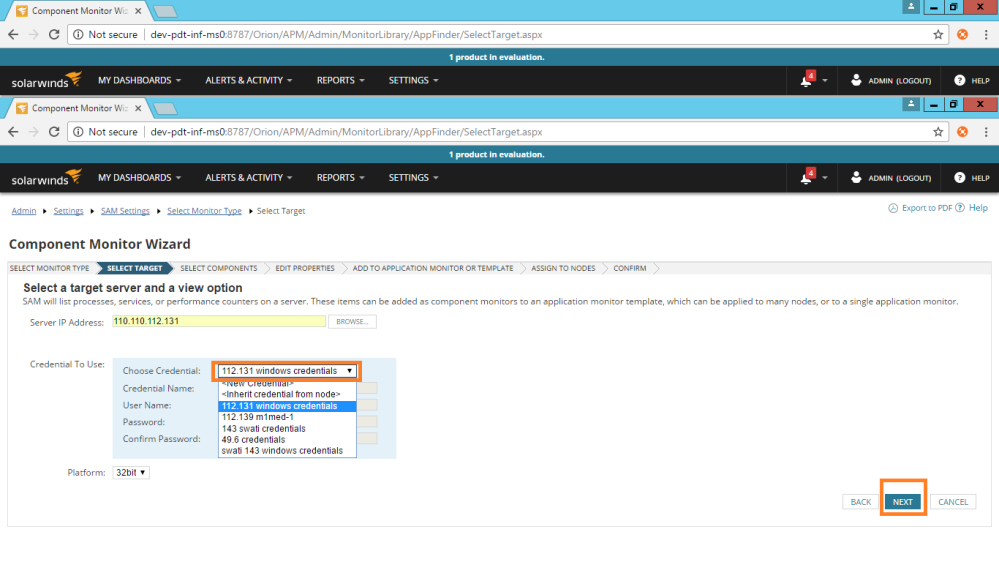
After that just scroll down the same page and click on drop down box of “Choose Credentials” and choose the newly added node’s credentials.Here I have added 112.131 machine whose credentials named as “112.131 Windows Credentials”.Now I am selecting the same credentials by clicking on drop-down box. After that click on “Test” button.If your credentials are correct then and then only you got the message like “Testing on node 112.131 is finished successfully with ‘Up’ Status.” now click on “Next” button.
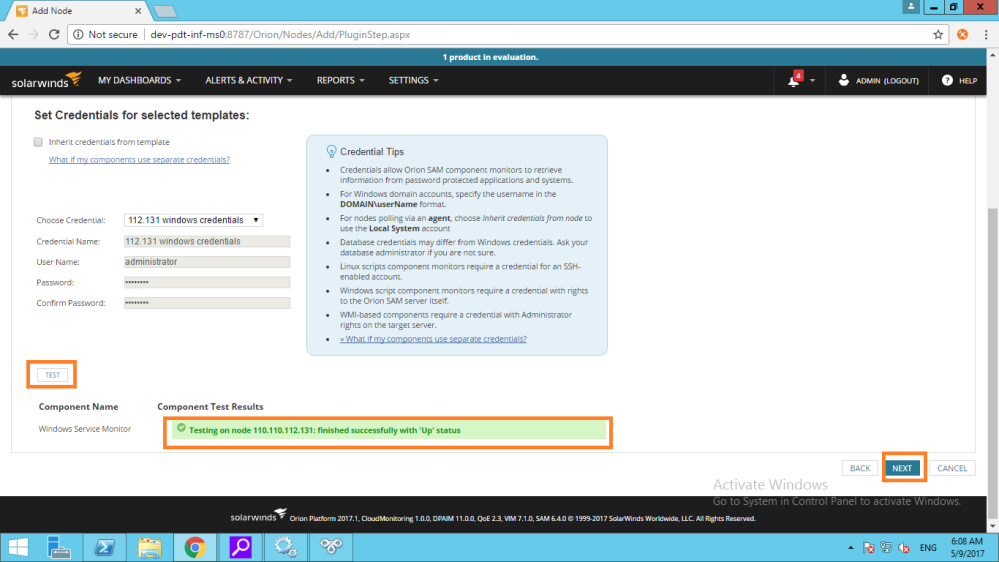
figure 8.1 Add Application Monitor part-2
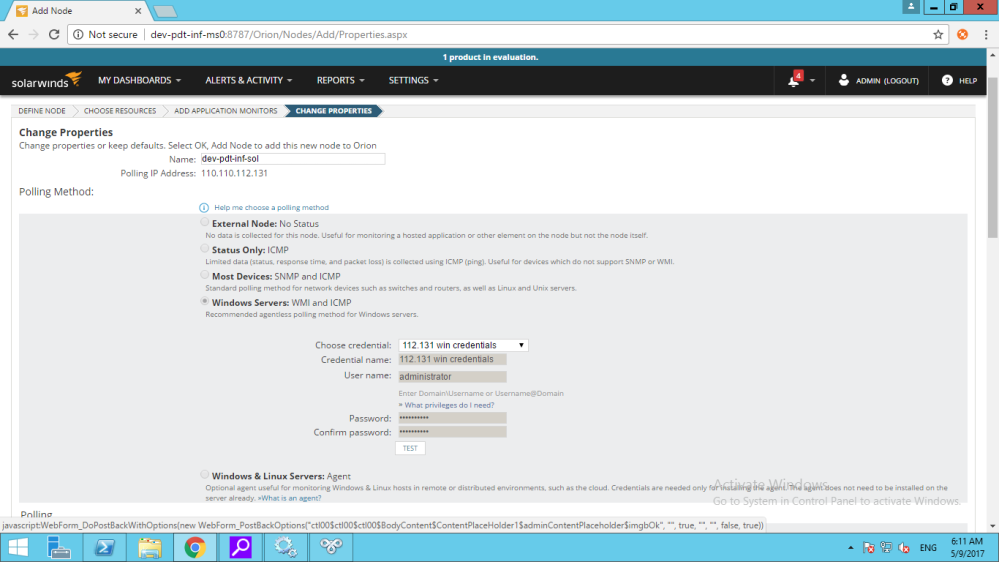
figure 8.2 Change Properties part-1
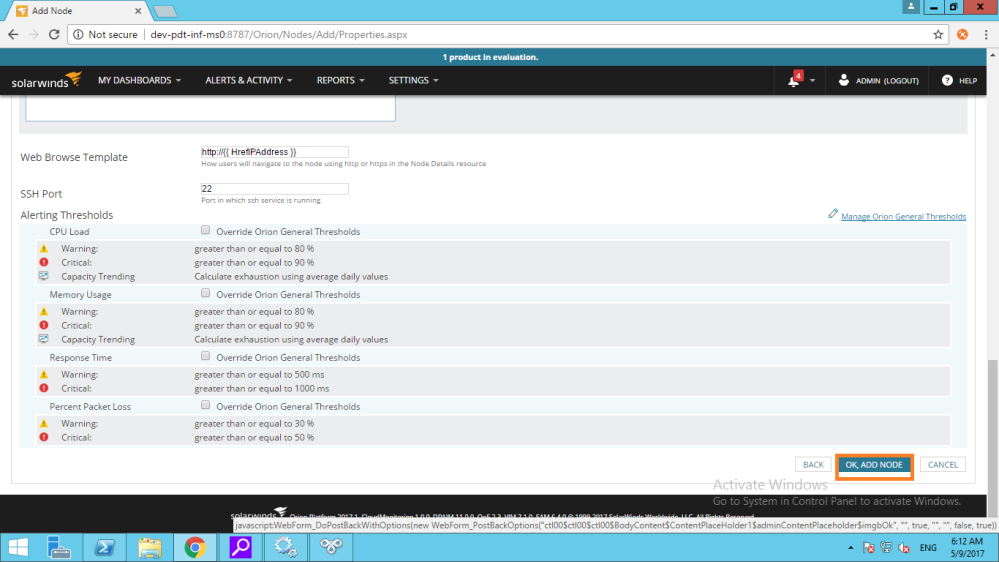
figure 8.2 Change Properties part-2
No need to change anything on “Change Properties”.Just click on “Ok,ADD NODE”.
Adding Node To solarwind is Completed Here.
Step – 2 : Adding Service for Monitoring From Added Server(Node):
Now We will add services( for monitoring) from newly added Node(server).Here is the procedure to add service for monitoring.
Goto –>Orion Dashboard–>Settings—>All Settings—>PRODUCT SPECIFIC SETTINGS–>SAM Settings–> “Component Monitor Wizard”.
After clicking on “Component Monitor Wizard” then you can see the following screen.
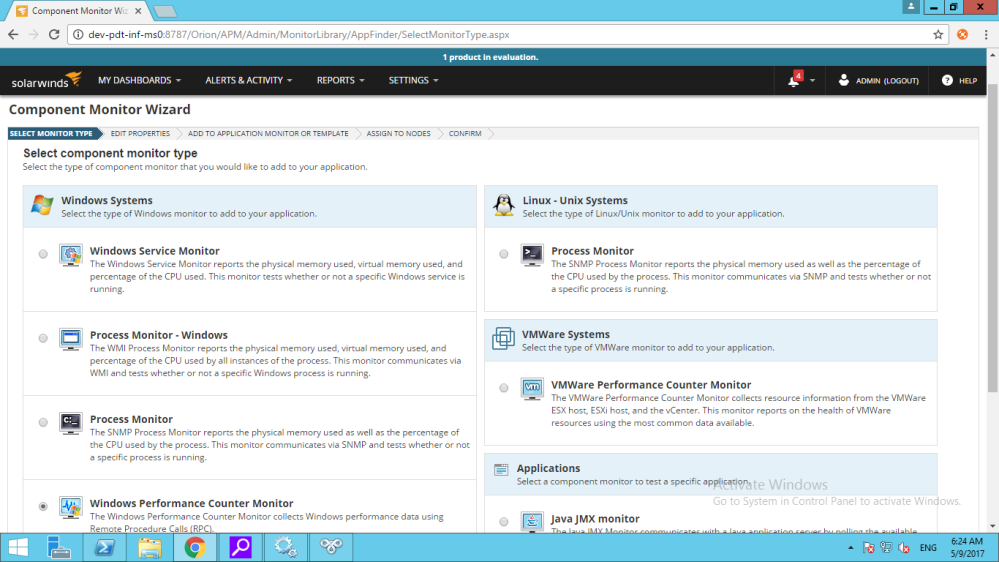
figure-9.1 Component Wizard part-1
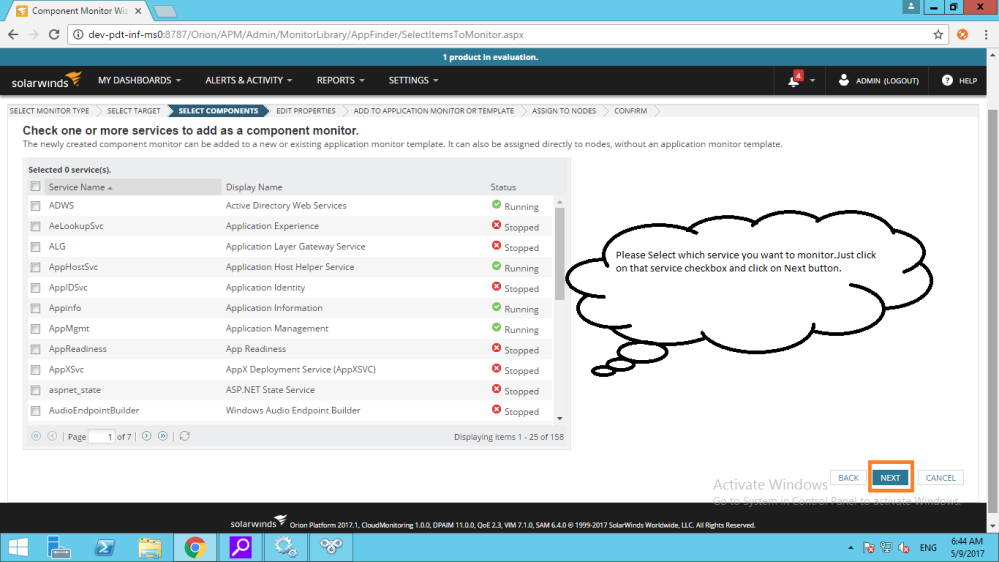
please select component monitor type(This selection is dependent on what type of server you added for monitoring whether it is windows server or linux server. )
Here I have added windows server thats why I will select “Windows Service Monitor” Radio button.
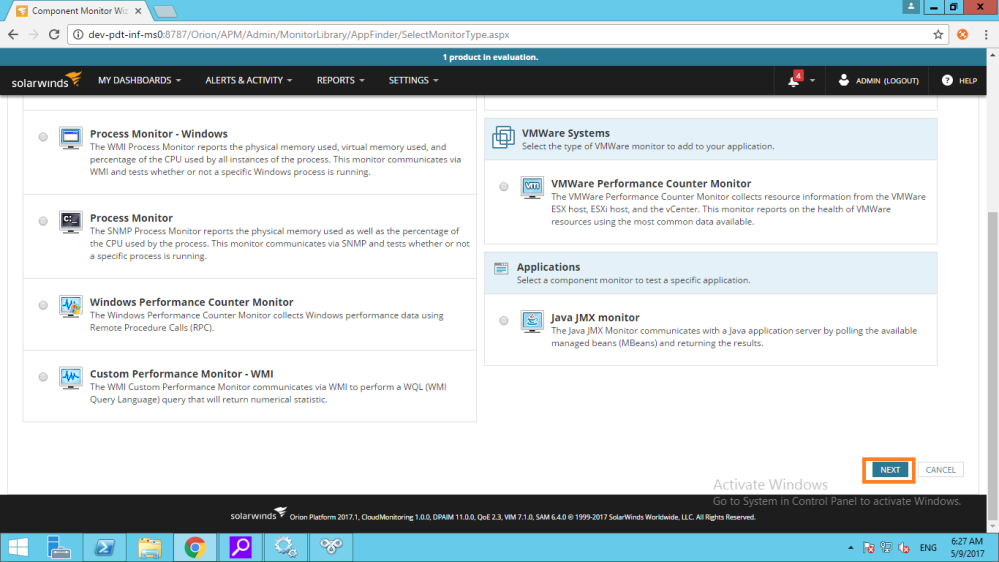
figure-9.1 Component Wizard part-2
after that click on “Next”

After clicking on Browse button You can see the following screen.Then You need to select a node which you added in previous step and then click on “Select”.
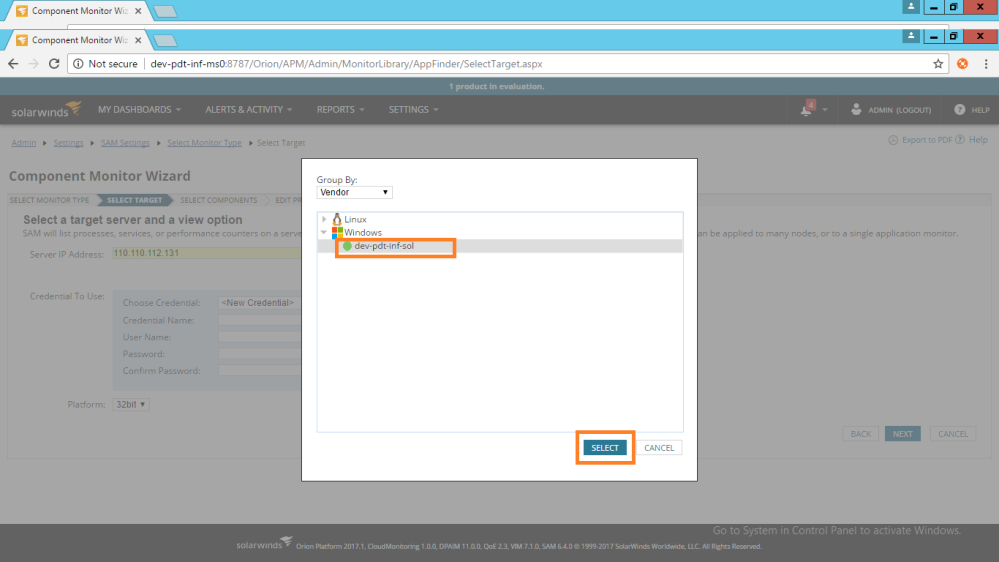
after clicking on “Select ” you will get following screen
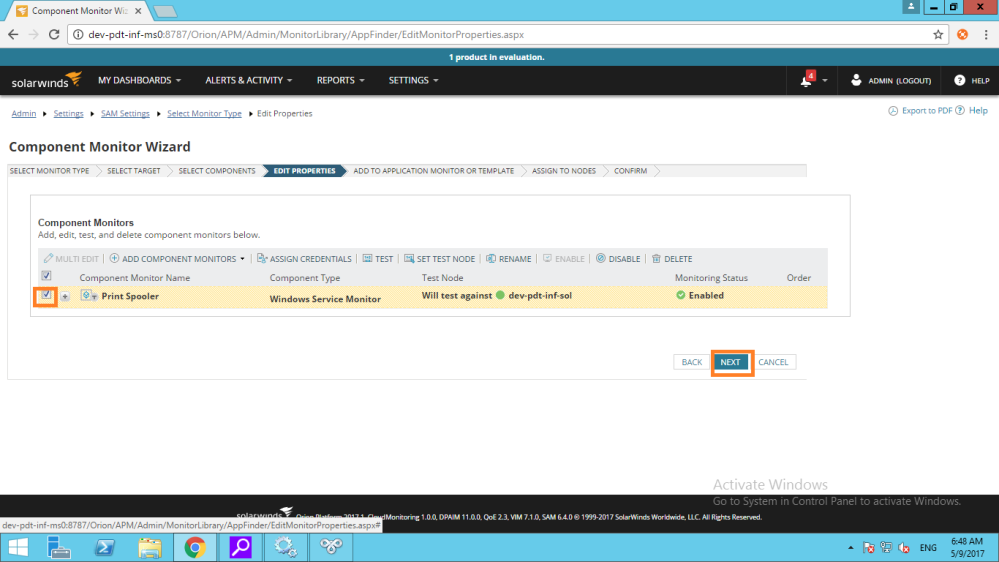
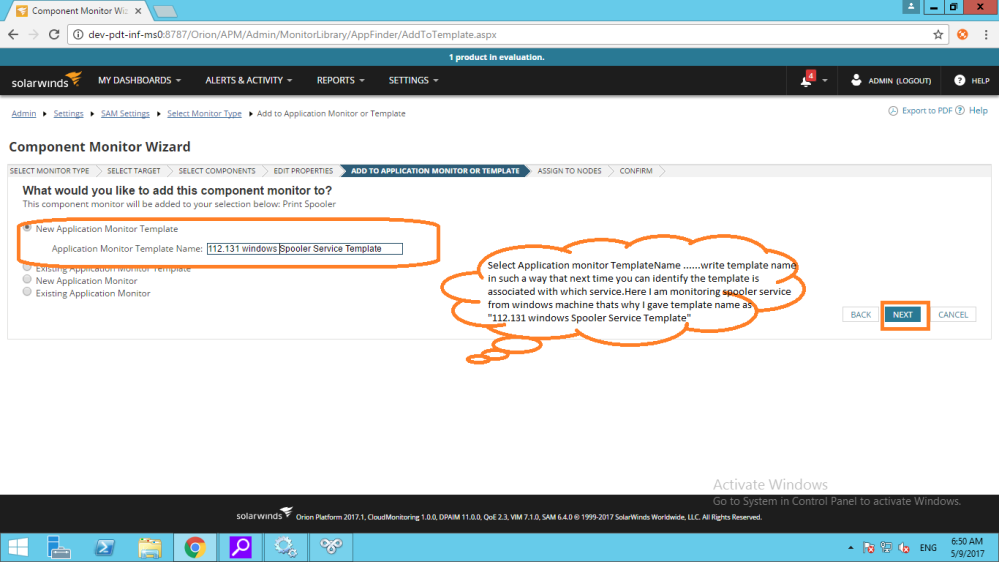
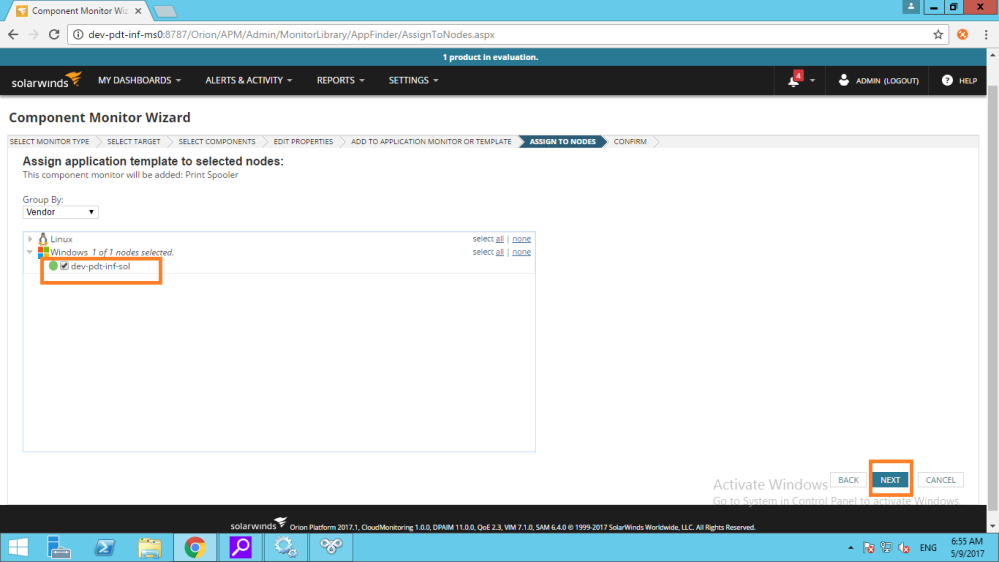
Now click on “Next”, you will get following screen.
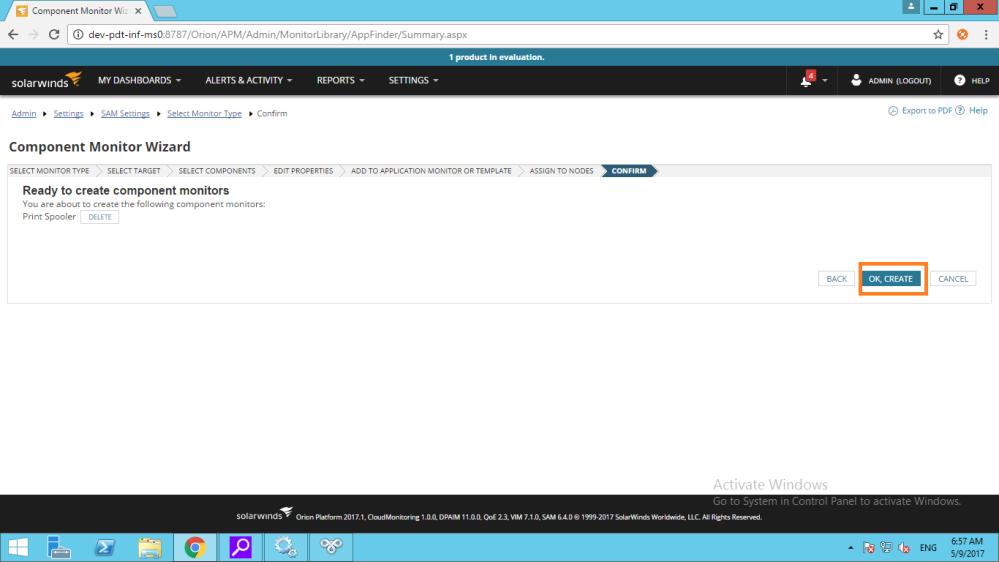
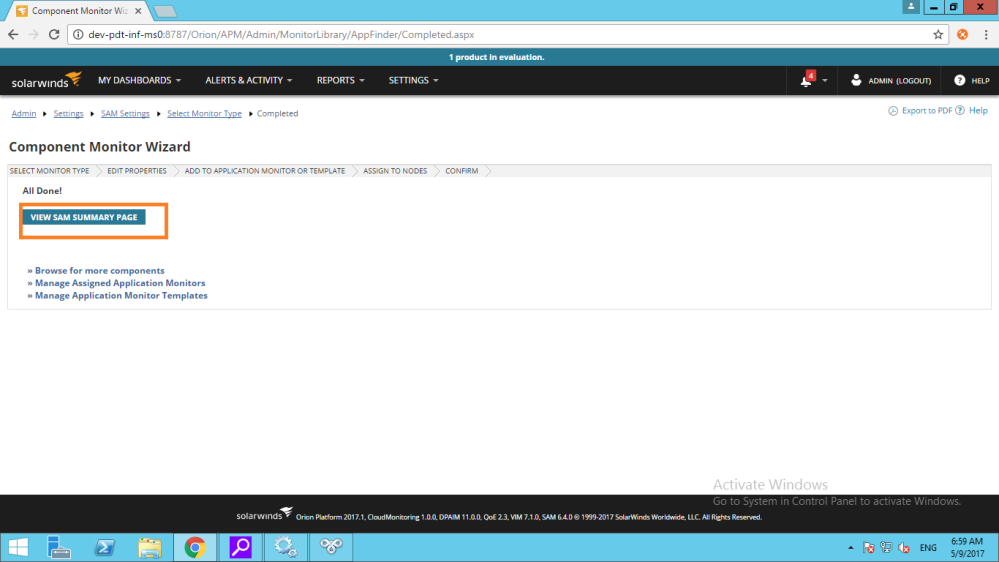
When you will see the SAM summary page then you can see the newly created node with its newly created Template.
you have to wait for 10 minutes to see whether its is really working or not.
After 10 Minutes if it goes green then it will be fine and working correctly.
If it shows gray in color, it means that It is not added successfully.
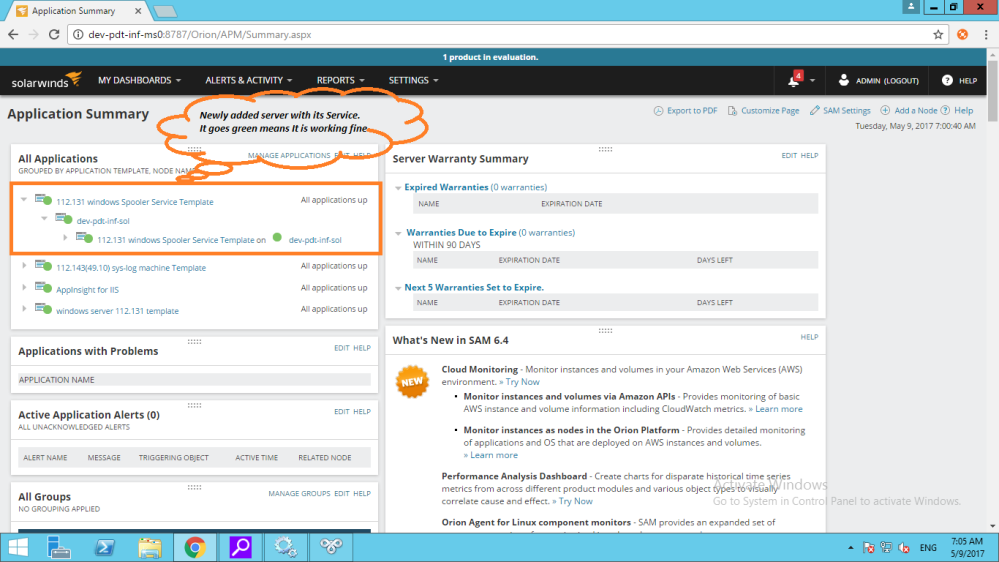
Done With Adding Server with its Application & Service Monitoring.
*******************************PART-1ENDS*************************
